
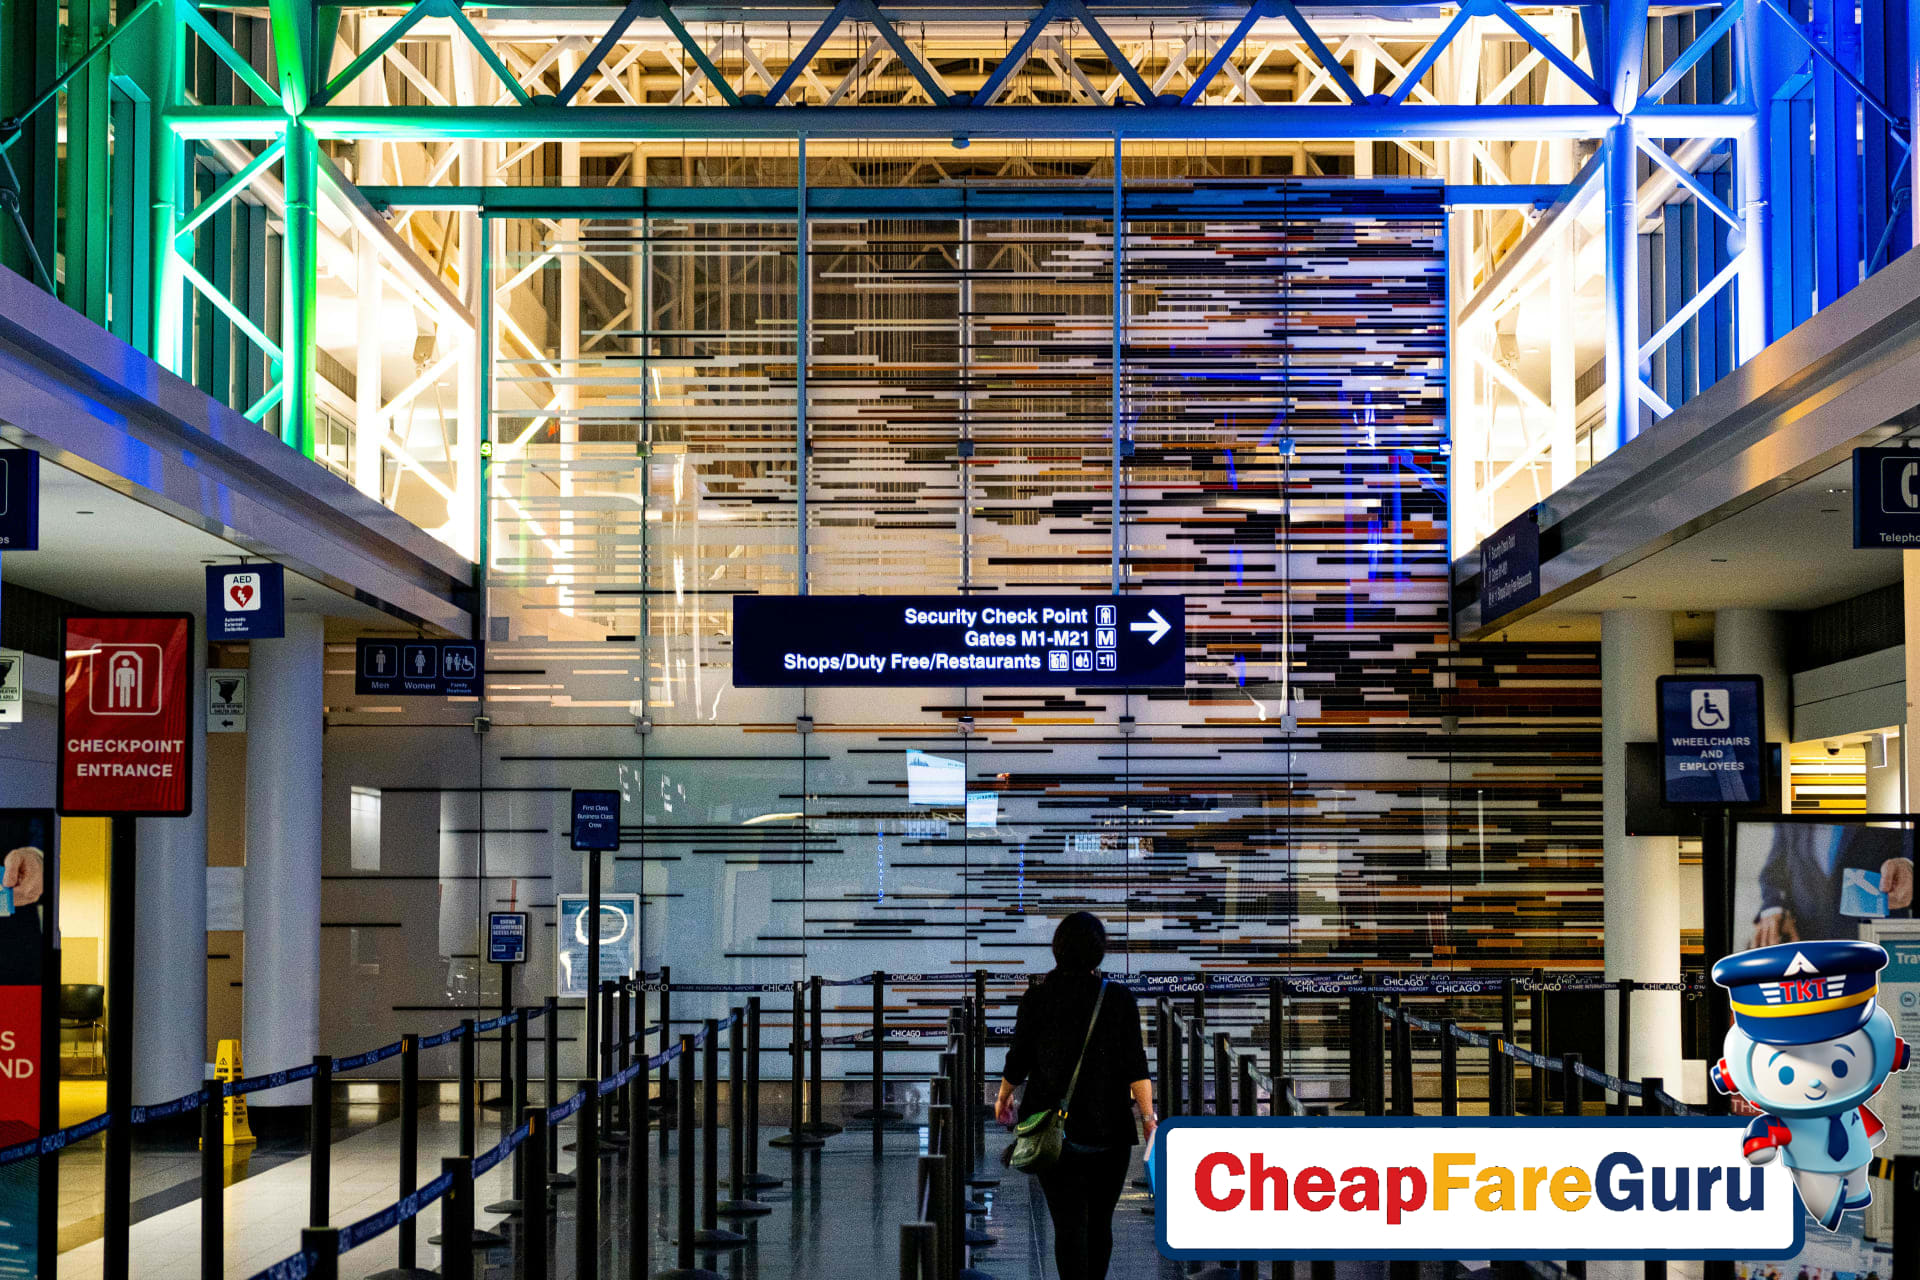
Understanding TSA Security Basics

The Transportation Security Administration (TSA) is the agency responsible for keeping U.S. airports safe. Their main mission is to prevent threats from making it onto planes, which is why every passenger must pass through a security screening before heading to their gate. The standard TSA process involves showing your ID and boarding pass, then moving through metal detectors or body scanners, with your carry-on items and personal belongings screened separately.
As a traveler, your main responsibilities at TSA checkpoints are straightforward: have your government-issued ID and boarding pass ready, follow instructions from security officers, and pack according to current rules. I’ve seen plenty of confusion in the TSA line, usually when someone can’t find their ID or is surprised by something in their bag. It’s also common for people to forget about liquids, gels, or prohibited items, which slows down the line for everyone.
Delays at security are often caused by unprepared documents, bringing restricted items, or not following instructions. For the latest details on what you can and can’t bring, I always recommend checking the official TSA.gov “What Can I Bring?” page before you pack. If you’re unsure about travel documents, see our U.S. Airport Travel Documents Checklist for a quick rundown of what you’ll need at the airport.
Packing For Smooth TSA Checks

Getting through airport security goes a lot faster when you pack with TSA rules in mind. The 3-1-1 liquids rule means each liquid container in your carry-on must be 3.4 ounces or less, all fitting inside a single clear quart-sized bag. I’ve learned the hard way that digging for my liquids or electronics at the last second slows everything down, so now I always pack them at the very top of my bag for quick access.
Be mindful of restricted items: sharp objects, large batteries, and certain foods can trigger extra screening or even get confiscated. For electronics, you’ll usually have to remove laptops and tablets from your bag. Keeping them in a separate compartment or a sleeve makes this step much easier. I recommend using clear pouches or packing cubes to organize your carry-on—screeners can see what’s inside, and you’ll spend less time unpacking and repacking at the checkpoint.
Checked baggage has its own set of rules. Avoid packing lithium batteries or e-cigarettes in checked bags—they’re only allowed in your carry-on. If you’re unsure about a specific item, check the TSA’s “What Can I Bring?” tool for the latest guidance. For a printable checklist and more packing strategies, our travel gear checklist on cheapfareguru.com is a handy resource to review before you zip up your suitcase.
Dressing Smart For Security Success

Getting through airport security can be a breeze—or a headache—depending on your outfit. I once wore a metal-buckled belt and chunky jewelry, and it added several minutes to my screening time. Since then, I stick to slip-on shoes, simple layers, and keep metal to a minimum. This small wardrobe adjustment has saved me plenty of hassle at the checkpoint.
The best clothing for speedy screening is all about simplicity. Opt for slip-on shoes so you can easily remove and replace them at the conveyor belt. Avoid boots with lots of laces or zippers, as they slow you down and sometimes set off alarms. Clothing without metal buttons, snaps, or decorative studs is ideal—think soft fabrics, elastic waistbands, and basic tees or pullovers. If you need a jacket, choose something lightweight and easy to take off.
When it comes to accessories, less is more. Heavy jewelry, metal watches, and chunky belts are common triggers for secondary screening. Instead, wear small stud earrings, leave your watch in your bag, and skip the belt if possible. Even underwire bras can sometimes cause a double-take at the scanner, so consider a wire-free option for travel days.
Body Scanners Versus Metal Detectors
Most airports use body scanners now, but some still have traditional metal detectors. For both, prepping your pockets is key—empty them completely before you reach the front of the line. Place coins, keys, and phones in your carry-on or the provided bins. I’d also recommend reviewing a what to wear on flights style guide before packing, especially if you want to avoid any surprises at security.
Mastering Airport Arrival Timing Tips
Getting your airport arrival timing right can make the difference between a calm start and a stressful scramble. The TSA currently recommends arriving at least two hours before domestic flights and three hours before international departures. But, in reality, there’s more nuance to it—especially when you factor in your airport’s size, the day of the week, and whether you’re traveling during peak holiday periods.
For example, if you’re flying out on a Monday morning or Friday afternoon, expect longer lines at security. Major holidays and school breaks can mean even more congestion, especially at larger airports or those with stricter security policies. I’ve learned the hard way that showing up just 90 minutes before a holiday flight almost always leads to a nerve-wracking dash to the gate. On the flip side, arriving early for a midweek midday flight often means breezing through security with time to spare.
There’s a persistent myth that you must always arrive three hours early, no matter what. In my experience, that’s overkill for most domestic trips unless you’re dealing with a massive airport or traveling at a notoriously busy time. I usually recommend checking your airport’s official website or app before you leave home. Many now display real-time TSA wait times, which can help you fine-tune your departure. The MyTSA app is also a reliable resource for live updates, security info, and travel tips.
If you’re planning a trip during the holidays, it’s worth reading our guide on holiday travel at airports for more timing strategies and stress-busting tips.
Efficiently Navigating TSA PreCheck And CLEAR

If you dread long security lines at the airport, TSA PreCheck and CLEAR can make a big difference. Both programs offer ways to speed through security, but they work differently and suit different types of travelers. I’ve used PreCheck for years and found it’s saved me countless hours, especially during busy travel seasons.
TSA PreCheck: Streamlined Security
TSA PreCheck is a government-run program that allows approved travelers to use a dedicated security lane. The key perks? You can keep your shoes, belt, and light jacket on, and leave laptops and small liquids in your bag. To enroll, you’ll need to fill out an application, schedule an in-person appointment, and submit fingerprints. The process is straightforward, and approval usually comes within a few weeks. As of now, the application fee is about $78.00 for five years. U.S. citizens and lawful permanent residents are eligible. Visit the official TSA PreCheck enrollment page for current requirements.
CLEAR: Biometric Fast-Track
CLEAR uses biometric technology (fingerprint or eye scan) to verify your identity, letting you skip the regular ID check and go straight to the physical screening. It’s run by a private company and is available at many major U.S. airports. Enrollment requires an online signup and a quick in-person biometric scan. CLEAR costs about $189.00 per year. U.S. citizens and legal permanent residents over 18 can join. Check the official CLEAR enrollment page for details.
Standard Security: What To Expect
With standard security, you’ll wait in the general line, remove shoes, belts, laptops, and liquids, and show your ID to an agent. For occasional travelers, this might be fine. But if you fly more than twice a year, the time saved with PreCheck or CLEAR can be significant.
Who Should Invest?
If you travel frequently or value a predictable airport experience, PreCheck or CLEAR is worth considering. I usually recommend PreCheck for most travelers since it’s more widely available and affordable over five years. CLEAR is a good add-on if you fly out of airports with consistently long ID check lines. Occasional flyers may be fine sticking with standard security, but even then, PreCheck can pay off quickly.
For a deeper dive into how TSA PreCheck and CLEAR compare, check out our detailed TSA PreCheck vs. CLEAR guide on cheapfareguru.com.
How To Avoid Common TSA Mistakes

If you’ve ever felt stressed going through TSA security, you’re not alone. Even seasoned travelers slip up and create delays—sometimes without realizing it. I’ve seen plenty of people (myself included) get tripped up by a forgotten water bottle or distracted phone use. Here’s a quick checklist of the top TSA mistakes I see most often, and how you can breeze past them.
Top 7 Mistakes I’ve Seen
- Forgetting to remove liquids: Travelers often leave water bottles or oversized toiletries in their bags. Always check your carry-on before you get in line.
- Trying to hide prohibited items: Hoping TSA won’t notice that souvenir pocketknife or oversized sunscreen will only slow you down. Be upfront and honest about what’s in your bag.
- Poor attitude at the checkpoint: Frustration or rudeness only makes things harder. A civil, patient approach goes a long way with TSA staff.
- Using your phone at the conveyor: Texting or talking while you unload your bins distracts you and holds up the line. Put your phone away until you’re through security.
- Not listening to officer instructions: TSA officers sometimes adjust procedures based on crowd size or equipment. I once missed a new bin rule and had to repack everything—watch for signs and listen up.
- Wearing complicated shoes or belts: Shoes with buckles or lots of laces, and belts with large metal buckles, can trigger extra screening. Choose easy-on, easy-off options if possible.
- Leaving electronics buried: Laptops and tablets often need to be placed in a separate bin. Pack them where you can reach them quickly.
Staying alert, following instructions, and treating TSA staff respectfully will make your checkpoint experience much smoother. If you’re a first-time flyer or just want a less stressful airport routine, check out our article on reducing airport stress for first-time flyers for more tips.
TSA Security Travel Budget Breakdown

Factoring TSA-related costs into your airport budget can make a bigger difference than most travelers expect. I’ve definitely noticed my own spending creep up when I add things like expedited security or lounge access, especially if I don’t plan ahead. Here’s a breakdown of typical travel expenses at three budget levels, with a focus on TSA security and airport add-ons.
| Budget | Mid-range | Luxury | |
|---|---|---|---|
| Accommodation | $60.00 | $120.00 | $300.00 |
| Food | $15.00 | $35.00 | $80.00 |
| Transport | $20.00 | $40.00 | $100.00 |
| Activities | $0.00 | $25.00 | $85.00 |
What’s included in “Activities” at each tier? For Budget, this means skipping extras—no TSA PreCheck, no paid Wi-Fi, and standard security lines. Mid-range typically covers TSA PreCheck or CLEAR for faster screening, plus a single-use lounge pass or premium Wi-Fi. Luxury travelers might spring for both CLEAR and PreCheck, plus full-service lounge access and extra fast-track perks.
Keep in mind that official TSA PreCheck and CLEAR program fees can change, so I usually double-check the TSA PreCheck and CLEAR websites for the latest details before booking anything.
TSA Security Screening FAQ Guide
- What happens if you forget to remove liquids at TSA security?
If you accidentally leave liquids in your bag, TSA agents will likely pull your bag aside for a manual inspection. They’ll ask you to remove the items and may discard anything over the allowed 3.4-ounce limit. I once had to toss a bottle of sunscreen—lesson learned: double-check before you queue up.
- How long does TSA screening usually take for domestic flights?
Most travelers can expect TSA screening to take about 20 minutes during typical airport hours, but lines can be much longer during holidays or peak travel times. Arriving at least two hours before your domestic flight gives you enough buffer, especially if you’re unfamiliar with the airport layout.
- Can I bring snacks through airport security in the U.S.?
You can bring solid snacks like chips, granola bars, or fruit through TSA security without issue. However, spreads or dips must follow the 3.4-ounce liquid rule. Keep snacks in a separate pouch for easy inspection—this speeds things up if agents want to check your bag more closely.
- Is TSA PreCheck worth it for frequent travelers?
TSA PreCheck can save you a lot of time if you travel several times a year. You’ll use a separate line and don’t have to remove shoes, laptops, or light jackets. For many, the convenience of shorter waits and less hassle makes the application process worthwhile.
- What ID do I need for TSA security checks?
For U.S. domestic flights, a valid government-issued photo ID—like a driver’s license or passport—is required at TSA checkpoints. Starting May 2025, you’ll need a REAL ID-compliant license or a passport for domestic flights, so check your ID’s status before your next trip.
- Tips for getting through TSA security quickly?
Wear slip-on shoes, keep your laptop and liquids at the top of your bag, and empty your pockets before reaching the conveyor. I always keep my travel documents in an outside pocket for quick access. Being organized makes the process much less stressful and helps you move through faster.
- How do I appeal a TSA checkpoint issue?
If you feel you were treated unfairly or something was mishandled, visit the official TSA.gov website and use their online complaint form. Document details like the date, location, and names if possible. You can also reach out to TSA Cares for assistance with accessibility or medical device concerns.
Getting Ready For Stress-Free Screening
Let’s quickly recap the essentials for a smooth airport screening: pack your liquids and electronics where they’re easy to reach, wear shoes you can slip off, and double-check your ID and boarding pass before heading to the checkpoint. Staying calm and organized makes a real difference—and knowing what to expect puts you in control, not the other way around.
If you found these tips helpful, I suggest bookmarking cheapfareguru.com or checking out our latest travel hacks and flight deals round-up for even more advice. Travel is always evolving, and a little prep goes a long way toward making each trip smoother.
I always appreciate a stress-free security experience—it means I can start my trip feeling relaxed and ready for what’s ahead.